
Finally, the part I’ve long waited for (but with more than a little apprehension): Adding human figures to the Erie Canal scene. The setting is rural upstate New York, and the time is early morning, so we won’t need many. But the view would seem lifeless without a few human inhabitants.
I have little experience in creating human figures, but it is a skill that I’ve long wanted to learn. Now would be a good time.
And the first lesson: This is a complex, labor-intensive process. I tip my hat to all the modelers, riggers, and animators who work hard every day to bring 3D film characters to life. My plans are more modest (for one thing, they don’t involve animation). I simply want to make a collection of quality human figures that can be posed and used in the lift bridge scene and other scenes later on.
Of course, 3D human models of varying degrees of quality are available – for free or for sale – from many online sources. But what’s the fun in that? I much prefer working with assets that I create myself.
My process using involves four applications: Silo for creating the mesh, Maya for rigging and posing, Mudbox for sculpting and shading, and Terragen for rendering.
Here we go.
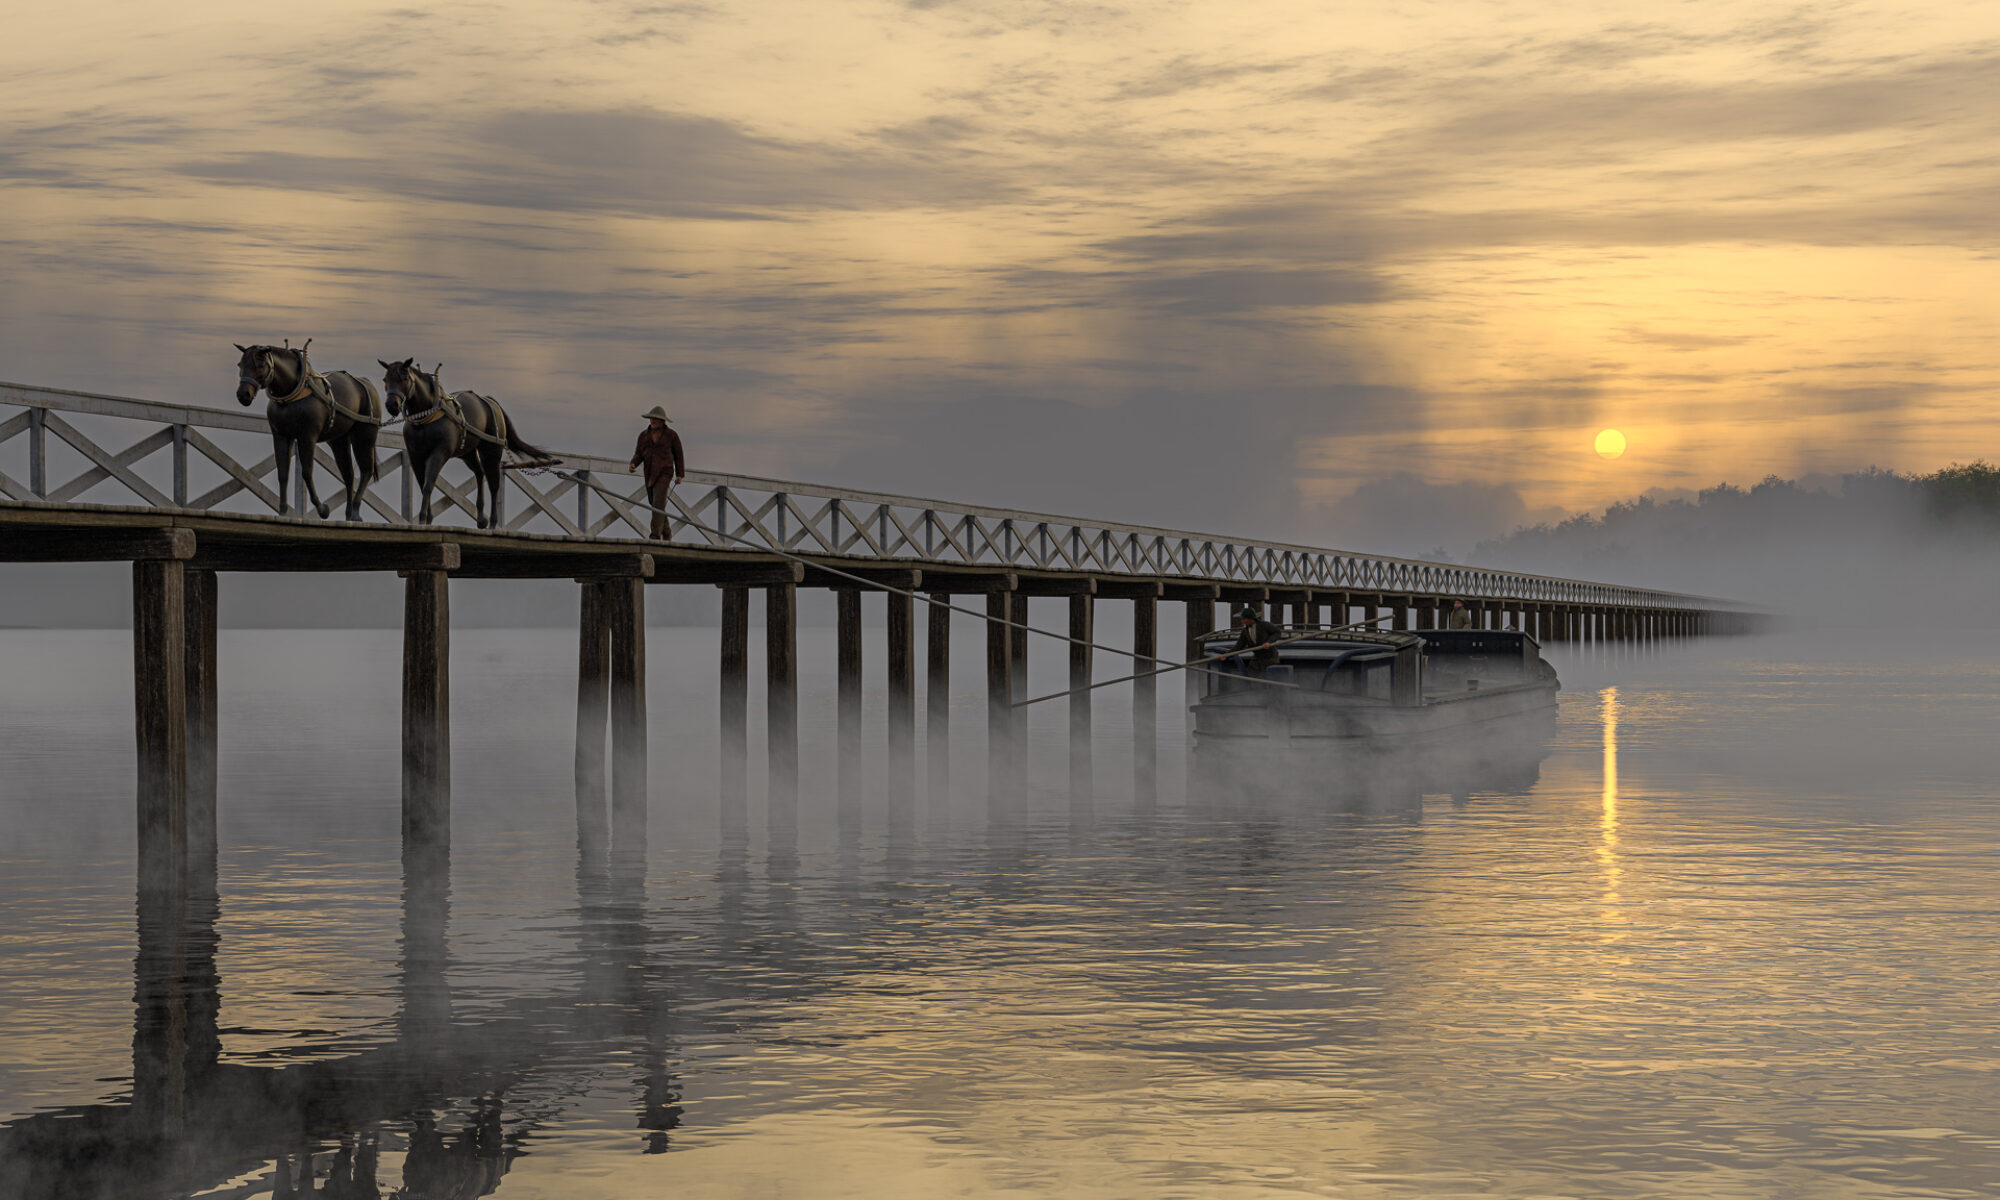
As with most things, we begin with a box to create a model of a man’s head.
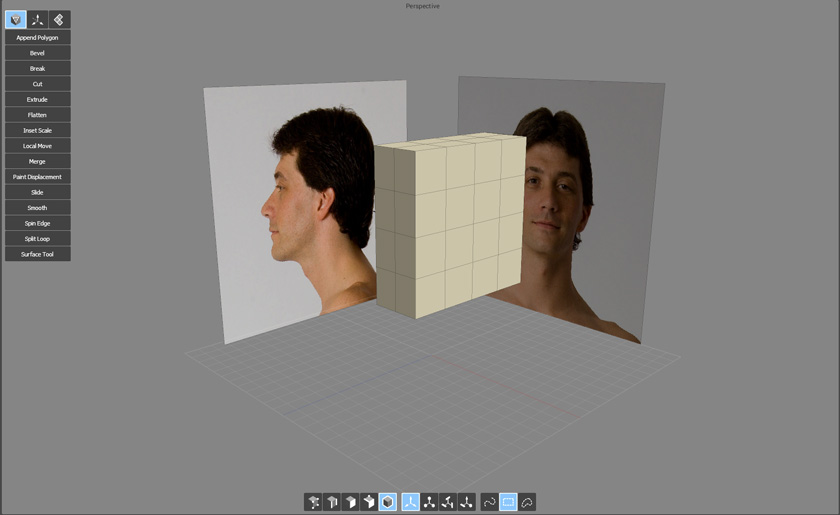
The subdivided box is shaped and cut to rough in the skull, chin and positions for the ear and eyes.
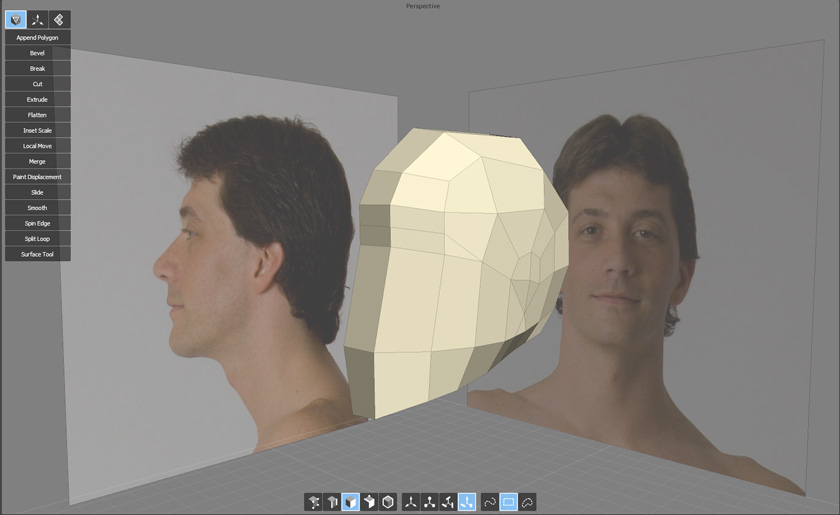
More edges are added and details – nose, lips, eyes – begin to take shape. Edges are routed to follow the natural contours of the face.
Several iterations later, we have a man’s head.
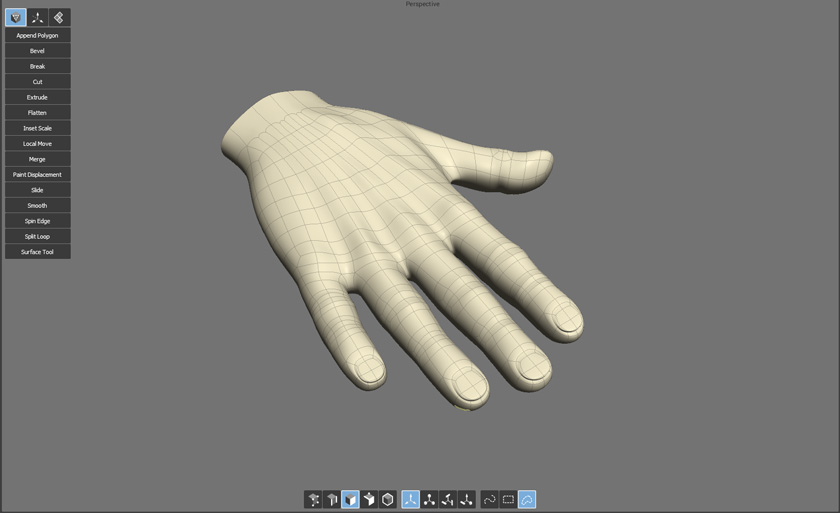
Other body parts are also modeled separately. These can be adapted and reused as needed.
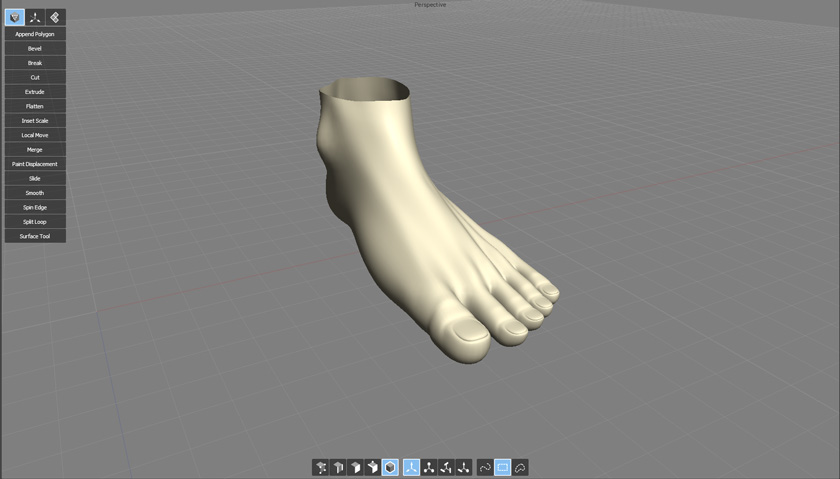
The torso, arms and legs are modeled, and then all of the pieces are put together.
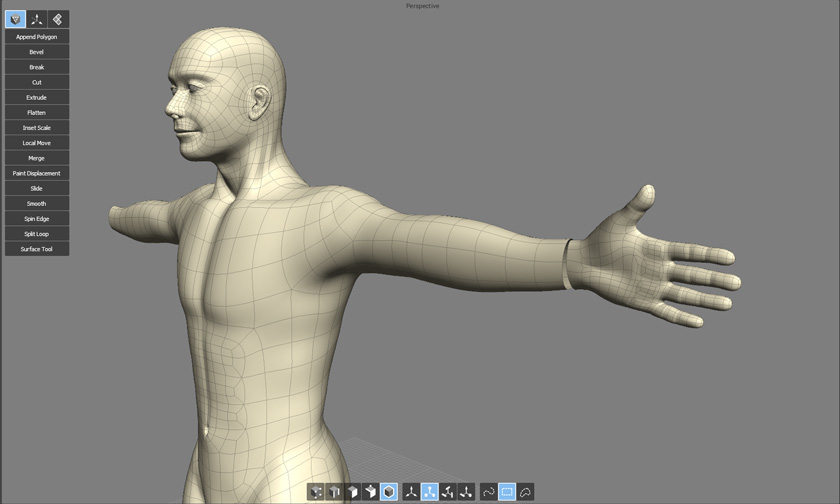
Now we have a basic mesh that can also serve as a base for additional models later.
In Maya, the mesh is UV mapped and hair and eyebrows are added. A skeleton is built and bound to the mesh, and a control rig allows it to be moved into different poses like a puppet.
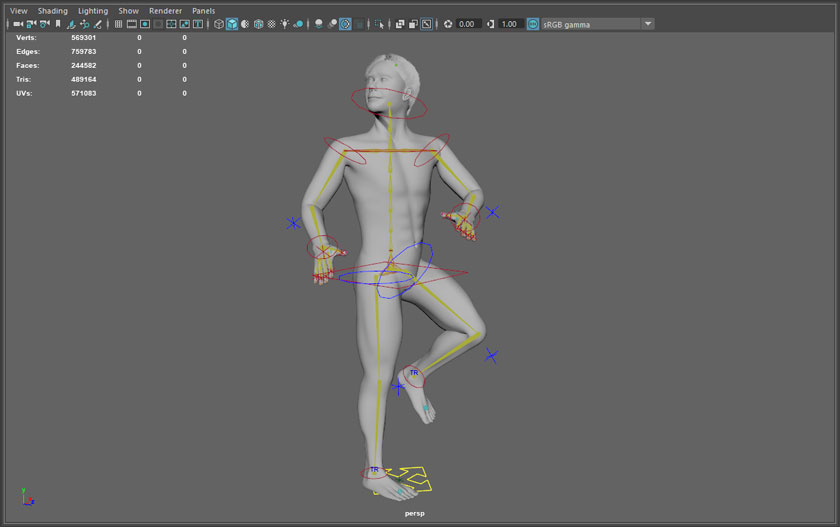
Binding the mesh to the skeleton is by far the most difficult step. Maya calculates the initial bind but it then must be fine tuned by hand – a time-consuming process that requires some practice and a lot of patience. But it’s the only way to make sure the character will move naturally.
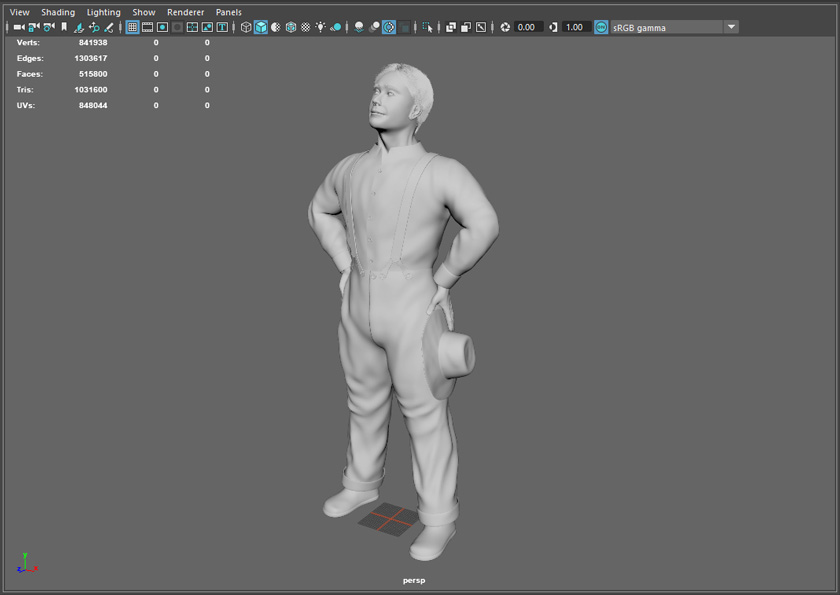
Clothing is added in Maya and the figure is posed. Folds and wrinkles in the clothing are added in Mudbox.
One down, several more to go . . .